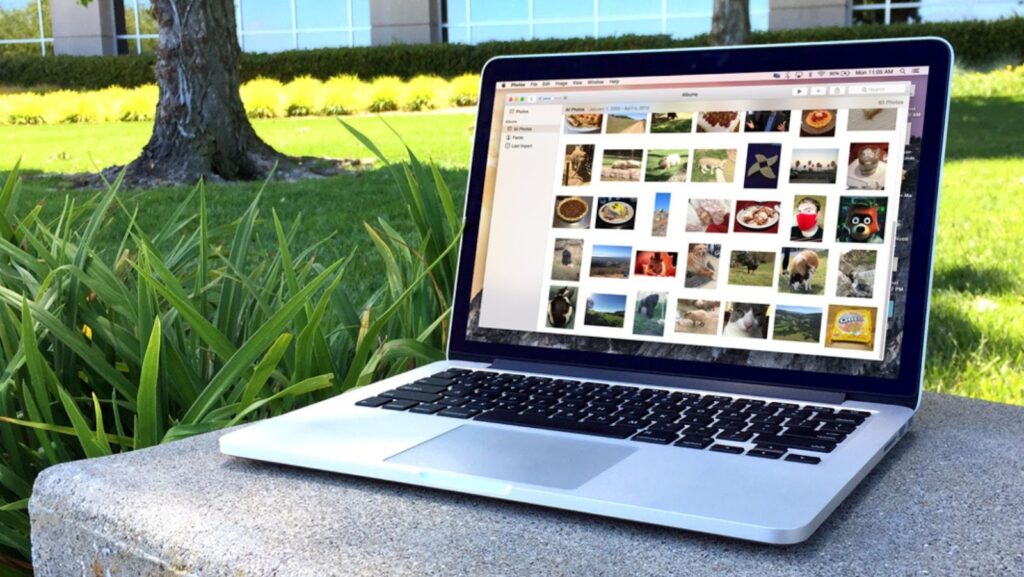
Macs are a popular choice for photography enthusiasts and professionals alike, and for good reason. Macs offer powerful photo editing software and some great features for managing and organizing your photos. In this post, we will give you some tips on how to get the most out of your photos on a Mac. We will cover topics such as importing, editing and exporting photos on a Mac. By the end of this post, you will know how to make the most out of your photos using some simple tips and tricks that can help you improve your photo taking skills.
How to import your photos onto your computer
If you are new to photography, or if you are just getting started with a Mac, one of the first things that you should do is learn how to import your photos onto your computer. There are a few different ways that you can import photos onto a Mac, but the easiest way is to use an SD card reader. Most digital cameras come with an SD card reader, and if yours does not, you can purchase one from your local electronics store. Once you have an SD card reader, simply insert your SD card into the reader and then open up the Photos app on your Mac. From here, you can select all of the photos that you want to import and then click on the “Import” button.
Learn how to edit
Once you have your photos imported, the next step is to learn how to edit them. If you are new to photo editing, don’t worry, it’s not as difficult as it may seem. There are a few different ways that you can edit photos on a Mac, but the most popular way is to use the built-in Photos app. To edit a photo in the Photos app, simply select the photo that you want to edit and then click on the “Edit” button. From here, you can use the various tools that are available to make changes to your photo. For example, you can crop your photos, adjust the brightness and contrast, add filters, and more. When you are finished editing your photo, be sure to click on the “Save” button so that your changes will be saved.
Exporting your photos
Once you have edited your photos, the next step is to export them so that you can share them with others. To export your photos, simply select the photo that you want to export and then click on the “File” menu. From here, you will need to select the “Export” option. Once you have done this, you will be able to choose where you would like to save your photo and what format you would like to export it in. The most popular formats for exporting photos are JPEG and PNG. After you have chosen your export format and location, simply click on the “Export” button and your photo will be saved.
How to delete multiple photos on mac
If you want to delete multiple photos on a Mac, the easiest way is to use the Photos app. To delete multiple photos in the Photos app, simply select the photos that you want to delete and then click on the “Delete” button. From here, you will be asked if you want to delete the selected photos or move them to the trash. If you choose to delete the photos, they will be permanently deleted from your Mac. However, if you choose to move the photos to the trash, they will be moved to the Trash folder on your Mac and will still be taking up space.


